
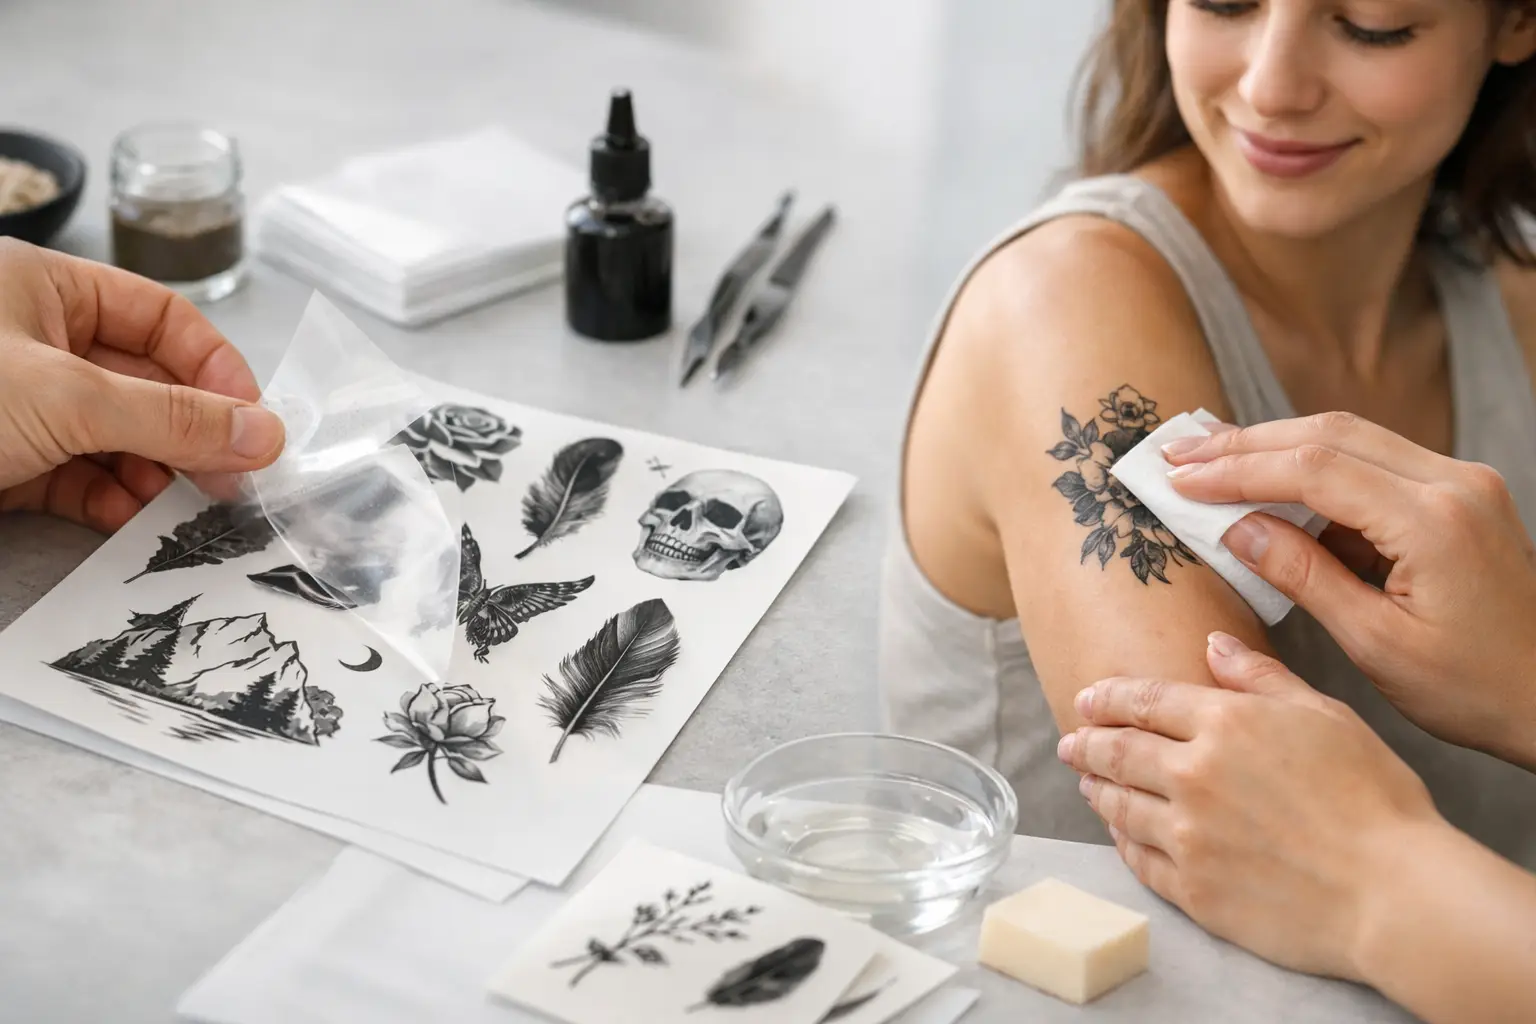
A temporary tattoo looks simple when it lands on your skin: press it down, add water, peel back the paper, and suddenly your arm has attitude. But how temporary tattoos are made involves more than putting a drawing on paper. The best ones are built as a precise stack of art, ink, adhesive, and protective layers designed to transfer cleanly and wear without feeling like a craft-project disaster.
For party-ready body art, funny gifts, festival looks, or a low-commitment way to test-drive a tattoo vibe, those details matter. A sharp design is only half the deal. It also needs to release from the backing, hold together during application, and fade away on your schedule.
How Temporary Tattoos Are Made, Layer by Layer
Most classic temporary tattoos are water-transfer decals. They are printed onto specially coated paper, then activated with water and transferred onto clean, dry skin. The process is similar in spirit to applying a decal, but the materials and order of the layers are carefully chosen for skin contact and reliable transfer.
The artwork is usually printed in reverse. That sounds backward because it is. When the tattoo is applied, the printed side sits against the skin, so the image has to be mirrored before production. A word tattoo printed normally on the sheet would read backward once transferred.
A finished sheet commonly includes a paper backing, a release coating, printed color layers, a white base when needed, an adhesive layer, and a clear protective film. Not every producer uses the exact same chemistry or sequence, but the goal stays the same: keep the tattoo protected on the sheet, then let water release it onto skin.
The backing paper and release layer
The backing is more specialized than ordinary printer paper. It needs to stay flat during printing, resist damage during packing, and release the tattoo film when wet. A release coating sits between the paper and the tattoo layers. When water soaks through the paper, this coating helps the tattoo separate from its backing without ripping or leaving half the design behind.
This is why a tattoo should be held in place with a damp cloth instead of quickly splashed with water. The release layer needs a little time to do its job.
The printed artwork
Next comes the visual part: linework, color fills, shading, tiny type, or whatever chaotic little statement the design is making. Production can use screen printing, digital printing, or a mix of methods depending on the artwork, order size, and equipment.
Screen printing is especially useful for solid, punchy colors. Each color may require its own screen and pass, which can make complex art more involved to produce. Digital printing is flexible for detailed illustrations, gradients, and smaller runs. Neither route automatically wins. Bold flash-style designs can look incredible with screen printing, while detailed artwork may benefit from digital precision.
Artwork choices affect the finished tattoo more than people expect. Fine lines can look great, but extremely tiny gaps and hairline type may lose definition once transferred to textured skin. High contrast usually reads better from a few feet away, which is often the point at a party or event.
White ink and opacity
Skin is not white paper, so light colors need help. Many temporary tattoos use a white underbase behind the design to keep colors visible on a range of skin tones. Without it, yellow, pale pink, light blue, and other soft colors can become muted or nearly disappear.
That underbase is one reason good tattoos look more like intentional body art than a faint sticker. It gives color something solid to sit on. For a design meant to look crisp and graphic, opacity is not a minor production detail. It is the difference between “nice” and “what is that supposed to be?”
The adhesive and protective coating
Once the image is printed, a skin-contact adhesive layer is applied so the tattoo can bond to the skin after the backing releases. A clear film may be added to protect the print and help it survive handling, packaging, and application.
The adhesive must balance grip with removability. Too weak, and the tattoo slides off after one brush against a shirt sleeve. Too aggressive, and removal becomes a chore. Wear time also depends on placement, skin oils, sweat, friction, and how much lotion is hanging around on the surface.
From Design File to Tattoo Sheet
Before any ink hits a sheet, the design needs production-ready preparation. That usually means checking line thickness, color settings, size, bleed, and the mirrored orientation. A graphic that looks perfect on a phone screen can turn into a blurry little smudge if it is scaled too small for the printing method.
For temporary tattoos, clean edges matter. Transparent areas, cut lines, and spacing between designs on a sheet need attention too. If several tattoos are arranged together, there should be enough room to cut them apart without chopping off a flame, word, or questionable little illustration at the edge.
After printing, sheets are dried or cured so the inks and coatings set properly. They are then cut into individual tattoos or grouped into sets. Packaging protects the sheets from moisture, dust, bending, and direct light before they reach the buyer.
At a marketplace storefront, production consistency is part of the product. You want the design that caught your eye to arrive looking like the design you saw, not like a faded cousin of it.
What Makes a Temporary Tattoo Look Good on Skin
The print process matters, but so does design strategy. Temporary tattoos have physical limits. They are thin films applied over skin texture, movement, body hair, and natural oils. A great design works with those realities instead of pretending they do not exist.
Large blocks of dark color can create a strong graphic look, but they may show wear sooner on high-friction areas. Fine black linework can feel closer to traditional tattoo flash, although lines that are too delicate may not stay crisp as long. Designs with confident shapes, readable contrast, and a little breathing room tend to transfer best.
Placement changes the result as well. The outer arm, shoulder, calf, chest, and upper back are usually friendlier than knuckles, palms, fingers, ankles, or spots that rub constantly against clothing. A temporary tattoo on the hand may look great for a photo, then take a beating from soap and daily life. That is not bad production. It is just the hand being the hand.
Quality, Safety, and the Fine Print
Temporary tattoo materials should be made for cosmetic or skin-contact use, not improvised with random household inks or adhesive. Reputable production focuses on appropriate inks, coatings, and controlled manufacturing. Still, “temporary” does not mean every person will react the same way.
If you have sensitive skin, allergies, eczema, broken skin, or a history of adhesive reactions, do a small patch test first or skip the tattoo. Do not apply it near the eyes, lips, or irritated areas. Adults planning a full night of body-art nonsense should also follow the product instructions instead of assuming every tattoo applies and removes exactly the same way.
Removal is usually simple: oil-based cleanser, baby oil, makeup remover, or rubbing alcohol can help loosen the adhesive. Gentle rubbing works better than scraping. If your skin gets red, itchy, or uncomfortable, remove the tattoo and stop using it.
How to Get the Cleanest Application
A well-made tattoo still needs a decent application. Start with skin that is clean and dry, with no lotion, sunscreen, or body oil where the design will go. Cut close to the artwork if the sheet has extra border space, remove the clear protective layer, then press the tattoo face-down against the skin.
Hold a wet cloth or sponge against the paper for about 20 to 30 seconds. Keep steady pressure and make sure the full backing gets wet. Lift one corner slowly to check that the design has released before removing the paper completely. Then let the tattoo dry without touching it for a minute or two.
Avoid scrubbing it immediately, and try not to coat it in lotion. If you want it for a night out, apply it after you shower and get dressed. That gives it less time to fight soap, steam, towel friction, and wardrobe changes.
Temporary tattoos are small, but they are not throwaway details. They are printed objects engineered to become part of the look for a few hours or a few days. Pick a design that makes you grin, give it a clean patch of skin, and let the temporary commitment do what it does best: make the moment more interesting.
Leave a Reply